Are you looking to add reCAPTCHA to your WordPress comment form?
Spam comments have gotten out of control for WordPress websites. As spammers become more sophisticated, they can launch massive spam attacks with little effort.
Akismet, the popular spam filtering service for WordPress blocks about 7.5 million spam comments every hour. Dealing with spam comments can be frustrating, and some bloggers even choose to completely disable comments on their websites.
Instead of turning off the comments, you can add CAPTCHA to the comment form to practically eliminate spam.
In this tutorial, we’ll show you how to easily add reCAPTCHA to the comment form of your WordPress website.
Step 1: Get Started
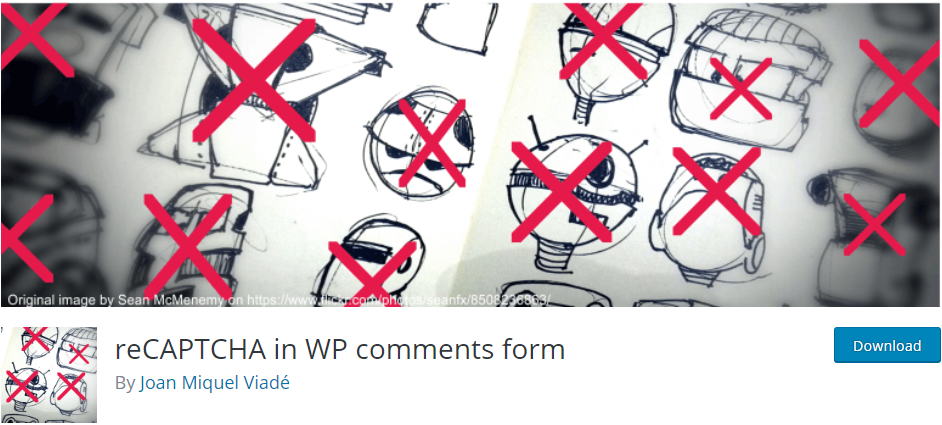
First thing you need to do is install and activate the reCAPTCHA in WP comments form plugin.
This plugin is a comment spamming tool. It adds a Google reCAPTCHA field into the WordPress comment box. When the user is not logged in but wants to leave a comment, they will have to click on the “I am not robot” checkbox.
The plugin also provides a two-factor authentication process to detect unauthorized access of comment spam robots. Once detected, it will notify you to handle these spam comments.
Upon activation, you need to visit Settings » reCAPTCHA in Comments page to configure plugin settings.
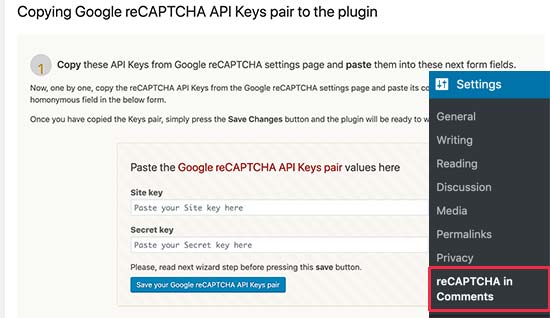
The plugin will ask you to provide Google reCAPTCHA API keys. You can create these keys for free from the official reCAPTCHA website.
Step 2: Register Your Website to Get reCAPTCHA API Keys
The plugin needs 2 Google API keys to add a reCAPTCHA checkbox to your comment form.
To get the API keys, head over to the Google reCAPTCHA website and click on the ‘Admin Console’ button located at the top right corner of the screen.
You can see our step by step guide on how to get 2 Google API keys for detailed instructions.
Step 3: Add reCAPTCHA to WordPress Comment Form
Head over to Settings » reCAPTCHA in Comments from the left sidebar of your admin panel.
On the settings page, you need to scroll down to paste the site key and the secret key.
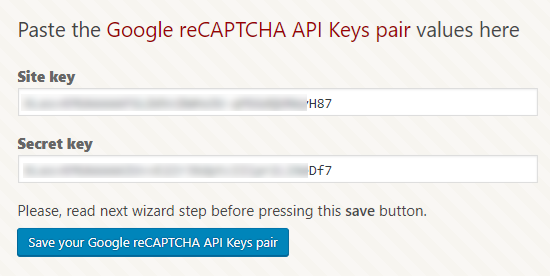
Once you’re done, click on the “Save your Google reCAPTCHA API Keys pair” button to store the API keys.
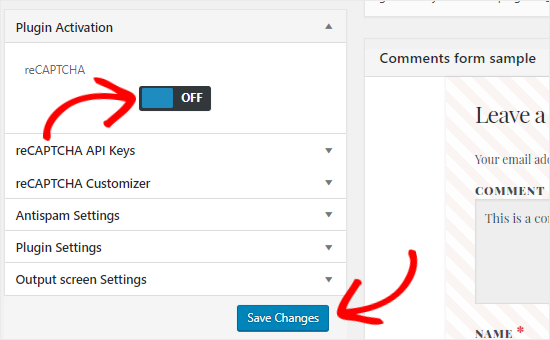
The last thing you need to do is enable reCAPTCHA by clicking on the toggle button and then click on Save Changes.
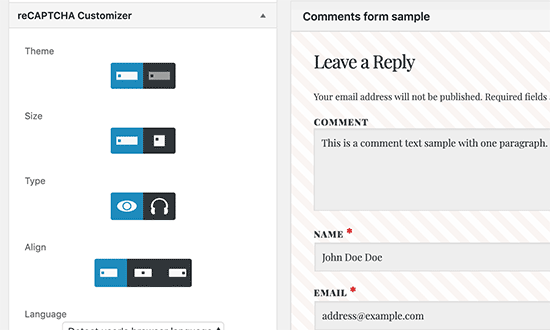
You can also do basic customization by clicking on the reCAPTCHA Customizer option.
Here you can make changes to the style, size, and alignment of the reCAPTCHA checkbox.
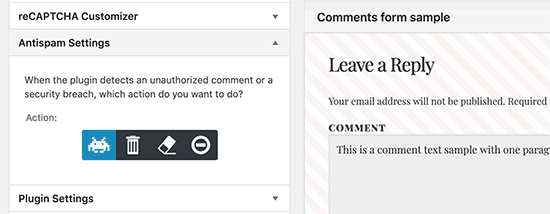
The plugin also has Antispam Settings option which allows you to decide what to do when the plugin detects an unauthorized comment or security breach.
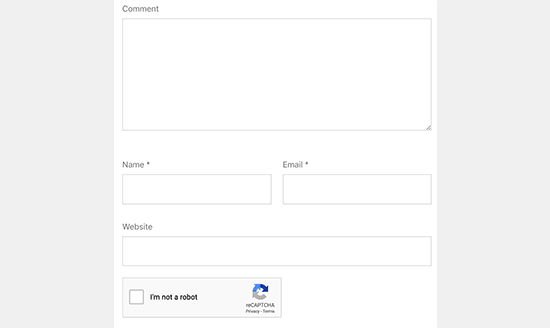
Congratulations, you’ve successfully added reCAPTCHA to your WordPress comment form. You can now check the comment section of your blog posts to confirm that it’s working properly.
Note: the reCAPTCHA checkbox will be displayed only to logged out users, so you will need to either log out or open your website in an Incognito window of your browser to preview reCAPTCHA.
We hope this tutorial helped you learn how to add reCAPTCHA to the WordPress comment form of your website.
vista home premium sp1 64 bit iso
Good article. I’m going through some of these issues as well..| а
Mango Support
Thank you. If you have any questions about WordPress issue, please don’t hesitate to contact us to get a free consultation.