
Remember back when you first started your WordPress site?
Everything was so fresh and uncluttered.
But as you started writing posts and pages, you probably began noticing just how quickly clutter can start piling up.
One of the biggest clutter attractors is the WordPress Media Library.
You’re likely uploading multiple media files for every single post and page you create.
Heck, this post I’m writing right now has 20 images by itself. Multiply that by tens or hundreds of posts and that’s a lot of files in your Media Library!
In its default state, WordPress doesn’t really give you much help when it comes to wrangling all those files. The Media Library works fine in the moment, but if you ever have to go back and find an old file, you’re going to be in a world of pain.
That’s where WP Media Folder comes in. It brings some much needed order to your WordPress Media Library by creating an organized structure of highly filterable folders and subfolders.
In this post, I’ll take you through exactly how to use this plugin to organize your Media Library. Then, I’ll go deeper into all WP Media Folder’s features and some of the specific scenarios where it can make managing your WordPress site significantly easier and less time consuming.
How to organize your WordPress Media Library with WP Media Folder
Here’s exactly how you can add that order to your site by using WP Media Folder.
Before getting started, you’ll need to make sure you’ve:
- Purchased the plugin from JoomUnited
- Downloaded the .zip file of the plugin from JoomUnited’s website
Once you’ve got that out of the way, you’re ready to start organizing!
Installing and configuring WP Media Folder
Once you’ve installed and activated the WP Media Folder plugin, it will automatically launch a configuration wizard to help you set up the basics.
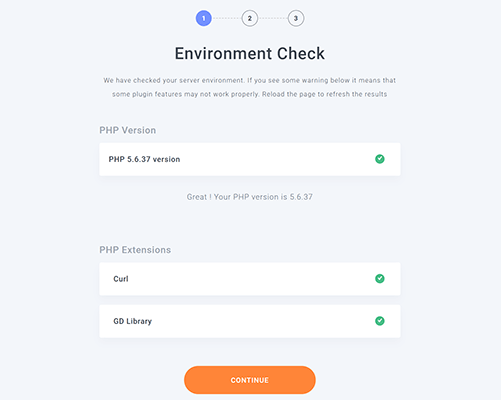
The first step in the wizard is an environment check. The plugin will scan your site’s server to make sure everything looks good on the tech side:
If all looks well, you’ll see some nice-looking green checkmarks. Then, you can click Continue to move to the next step:
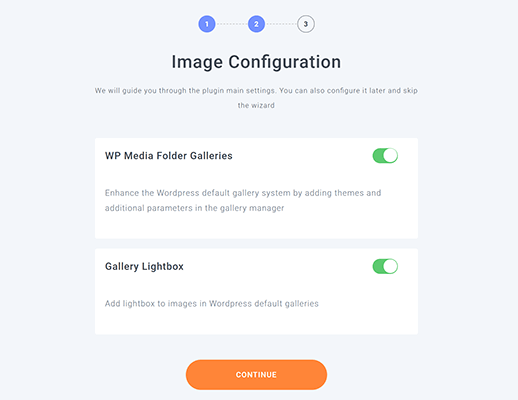
Next, you’ll be able to configure the plugin’s image gallery functionality. By default, WP Media Folder enables functionality that will enhance the native WordPress image gallery feature.
However, if you don’t want this functionality, you can turn it off. For example, if you’re already using a dedicated WordPress gallery plugin, you might want to just skip it:
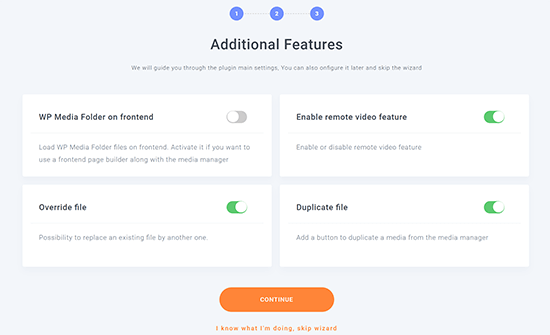
Then, you’ll see one more screen with some options to enable/disable specific features.
Most of the time, you can just leave these settings as the defaults. But you can read over the explanation for each setting and switch things up if desired:
Then, you’ll see a success message, as well as a link to go to your brand spankin’ new media library:
You can also access the plugin’s interface at any time by clicking the regular Media link in your WordPress dashboard.
Navigating the WP Media Folder Interface
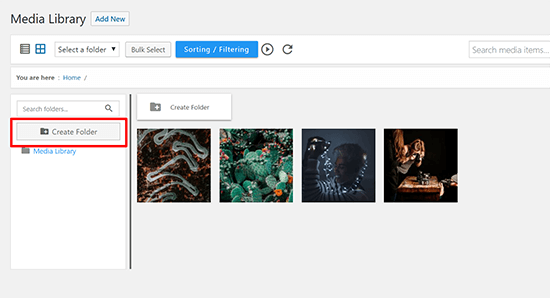
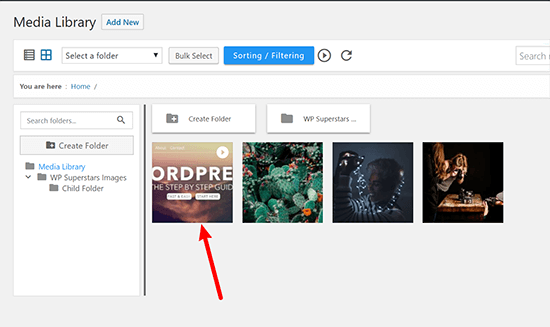
Here’s what your media library should look like now:

This interface works a lot like the folder system on your computer, so it should feel pretty familiar.
To create your first folder, you can click either of the Create Folder buttons:
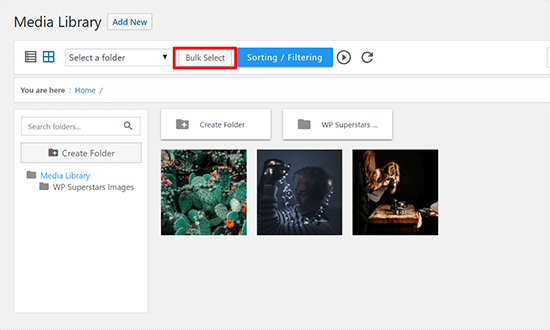
Once you create a folder, it will show up in the list on the sidebar, as well as in the main interface (kind of like how Google Drive works):

To move a file into the folder, you can just use drag and drop as you would on your computer:
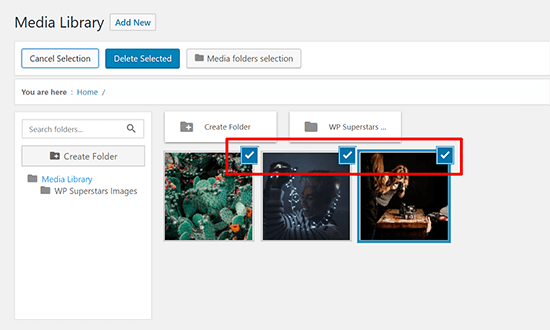
If you want to move multiple files at the same time, you can click the Bulk Select button:
Then, you can click on as many items as you want to move and use the same drag-and-drop approach to move them to a new folder:
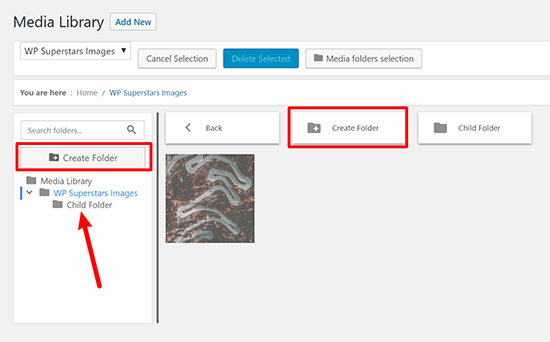
Creating subfolders
If you want to create a folder inside another folder, you’ll first want to open the folder in which you want to create a child folder. Then, if you click one of the Create Folder buttons while inside that existing folder, you’ll be able to create a child folder:
Filtering and ordering files to find them faster
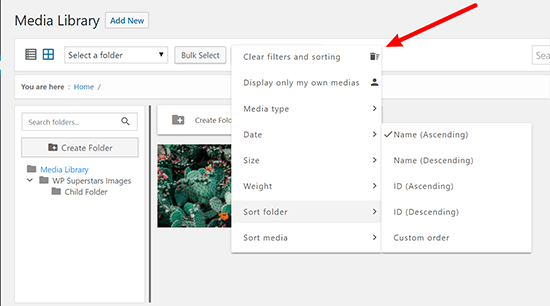
To help you find files, WP Media Folder adds a number of new filter and sort options.
You can filter files by:
- Keyword
- Uploader
- Media type
- Date
- Image dimensions
- File size
You can access these options from the Sorting / Filtering drop-down:
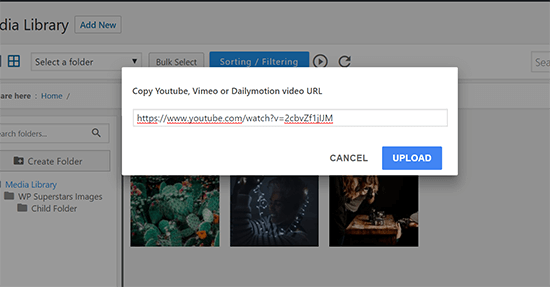
Adding external videos to your media library
Another neat feature of WP Media Folder is the ability to add external videos to your media library from YouTube, Vimeo, or DailyMotion.
To add a video, click the play icon next to the Sorting / Filtering options:
Then, paste in the URL to the video and click Upload:
After that, you’ll be able to move the video file around just as if it were a file that you’d uploaded to your server:
Creating a gallery from a folder
If you opted to leave WP Media Folder’s gallery functionality enabled when you went through the configuration wizard, here’s how it works…
You’ll get a new WP Media Folder Gallery block in the WordPress block editor:
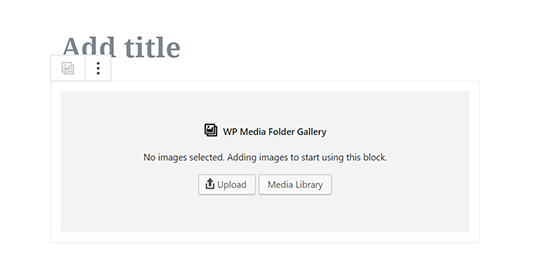
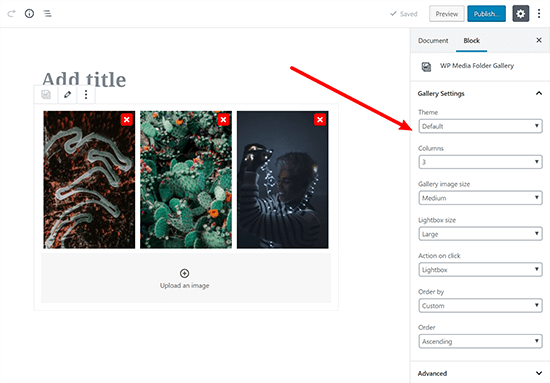
That block will let you select images from a folder. Then, you’ll be able to use the block sidebar to configure how your gallery works:
If you’re using the Classic WordPress editor, you can also access these settings from the regular Create Gallery tab when you go to insert a new image.
Replacing existing files
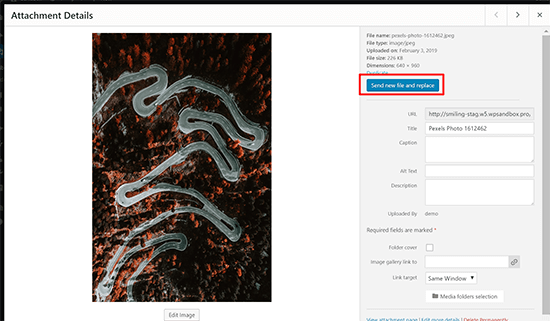
Sometimes, you might want to replace an existing file without changing its file name.
To do that, click on the file that you want to replace to open the Attachment Details window.
Then, you can use the Send new file and replace button to upload a file to replace the existing file:
Accessing the plugin’s other settings
While WP Media Folder’s configuration wizard helps you set up the basic settings, you have a lot more control over how the plugin functions if you want it.
To access all of these settings, go to Settings → WP Media Folder:

Here, you can use the various settings to:
- Restrict access to folders
- Configure automatic file renaming
- Configure automatic image watermarking
- Import files from your server
- Sync files with your server
- Change the gallery functionality
- Configure lots of other small settings
You should not feel like you need to configure all of these settings. In fact, the defaults should be totally fine for most sites.
But if you want to tweak anything (or import files from your server), this area is where you’ll do it.
@wpsuperstars.net