This is a common issue on WordPress sites. WordPress does not send an email when you fill in the submit form, sign up for membership … In this article, I will guide you to fix the WordPress site not sending emails in detail. And how to avoid email spam.
Why WordPress site not sending emails
The main cause of this issue is the WordPress hosting you are using.
It is not properly configured to use the PHP mail () function. Even your hosting has configured properly to use this function. Then a lot of email services like Gmail will use many tools to reduce spam. These tools will determine where this email comes from (whether it is listed in the spam list or not).
Emails sent from WordPress will often be marked as spam. Email notification from WordPress is as well. That’s why it’s a good idea not to use WordPress to send email newsletters. I recommend using SMTP to send emails in WordPress.
What is SMTP?
SMTP (Simple Mail Transfer Protocol) is the standard protocol for sending emails. Unlike the PHP mail () function, SMTP uses a more precise authentication method. This means that sending emails will have a much higher success rate. Simply use the WP Mail SMTP plugin to configure it. It will help you to send emails via SMTP instead of the PHP mail () function of WordPress.
You can connect to any email service such as SendinBlue, Gmail (G Suite), Office365, Amazon SES …
Now we will fix the WordPress site not sending emails.
Install and Configure Gmail SMTP Plugin
Installing Gmail SMTP Plugin
To install the plugin, login to your WordPress dashboard and go to Plugins > Add New. In the search box, enter “gmail smtp” (Free) and when this plugin appears, click Install Now.
When the installation completes, click Activate.
You would be taken to the “Plugins” page with a message on top indicating your plugin has been activated. On this page, search for the Gmail SMTP plugin and click Settings.
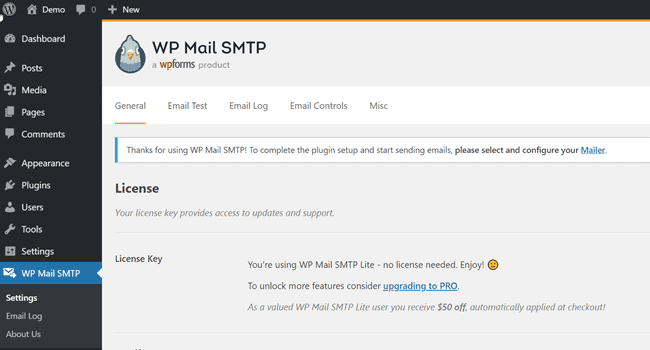
Next I will guide you to configure with Gmail, the most popular email service today.
Authorizing The Plugin To Send Email Using Your Gmail Account
In order to fix the WordPress site not sending emails, you need to authorize your SMTP plugin to send emails using your Gmail account. For this to work, you have to create a google web application and generate API keys. This sounds technical, but it is actually quite easy and straightforward.
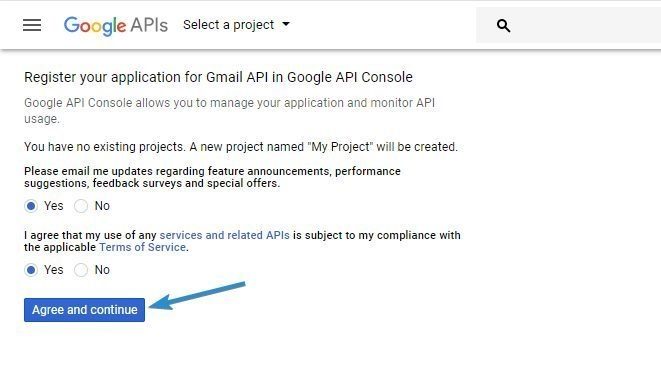
Go to the Google App creation page, and login with the google account you intend to use.
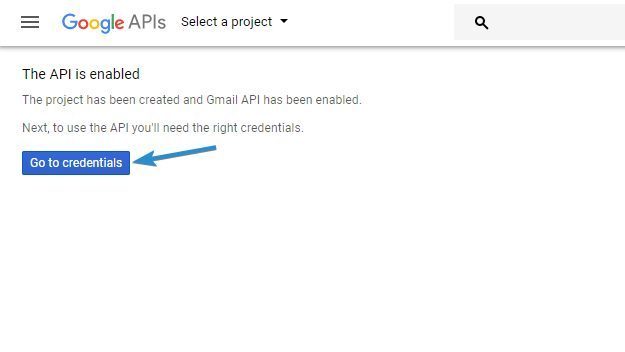
On the “Register your application” page, select “Yes” for both items and click Agree and Continue.
Next, click Go to credentials.
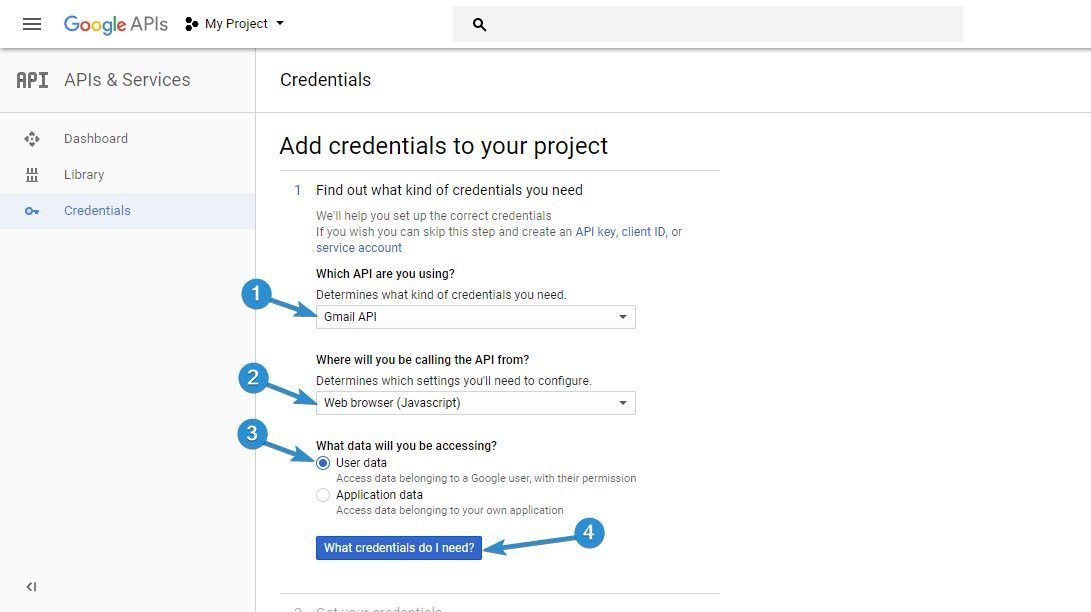
On the “Add credentials” page, leave the API set to “Gmail API”, select “Web browser (Javascript)” as the place you would be calling the API from, and select “User data” as the kind of data you would be accessing. Next, click What credentials do I need?
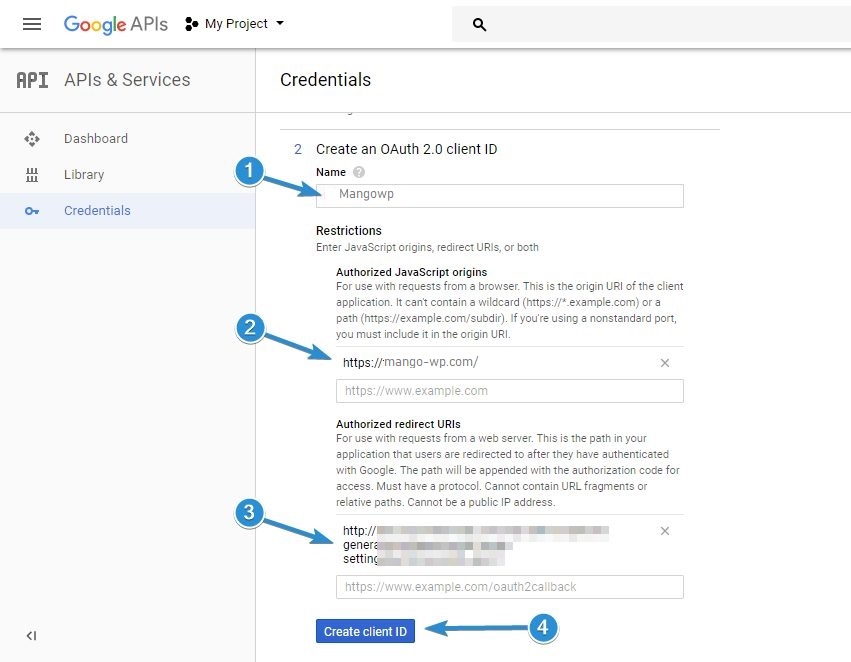
In the next page, enter a name for your authorization client and enter your blog URL in the “Authorized Javascript origins” input box.
Your “Authorized Redirect URI” is provided in your Gmail SMTP plugin page. Go there and copy it. Make sure you copy the whole link.
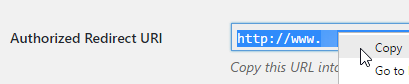
Paste this redirect URI in your Gmail credential page, and click Create Client ID.
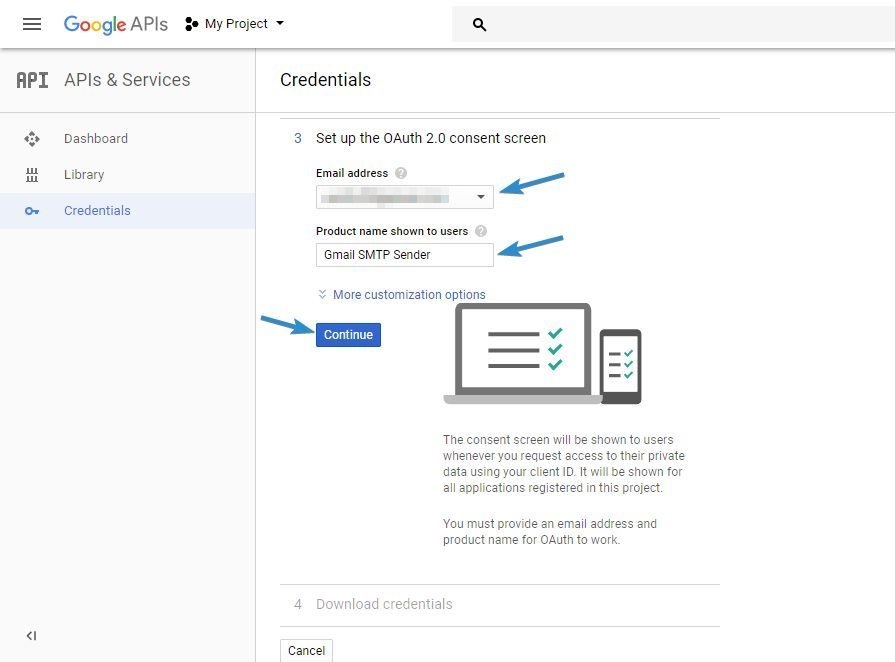
In the next step, leave the email address set to the one you want to use, and enter a product name. You can use any product name you choose, e.g. “Gmail SMTP Sender”. Next, click Continue.
In the final step, click Done.
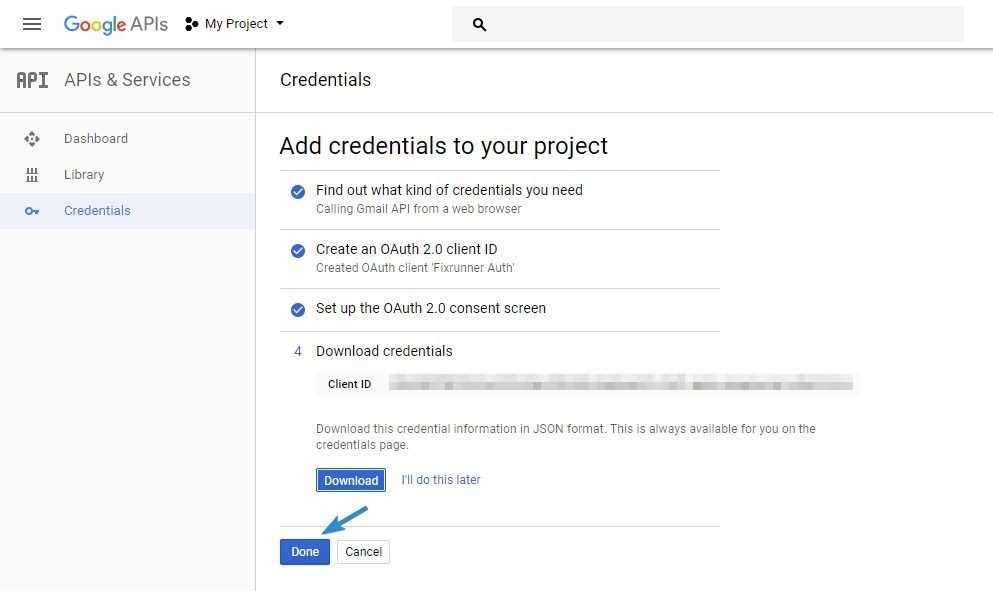
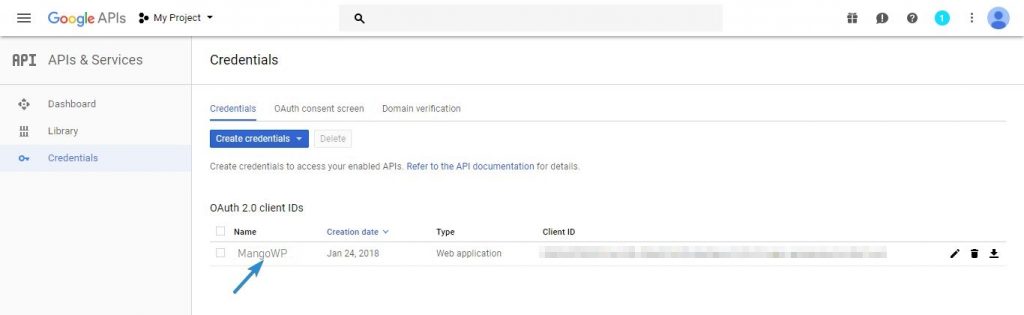
You will be taken to the credentials page.
Sending a Message to check if WordPress not sending emails
Click on the name of the credential you just created.
In the next page, you will see your Client ID and Client Secret.
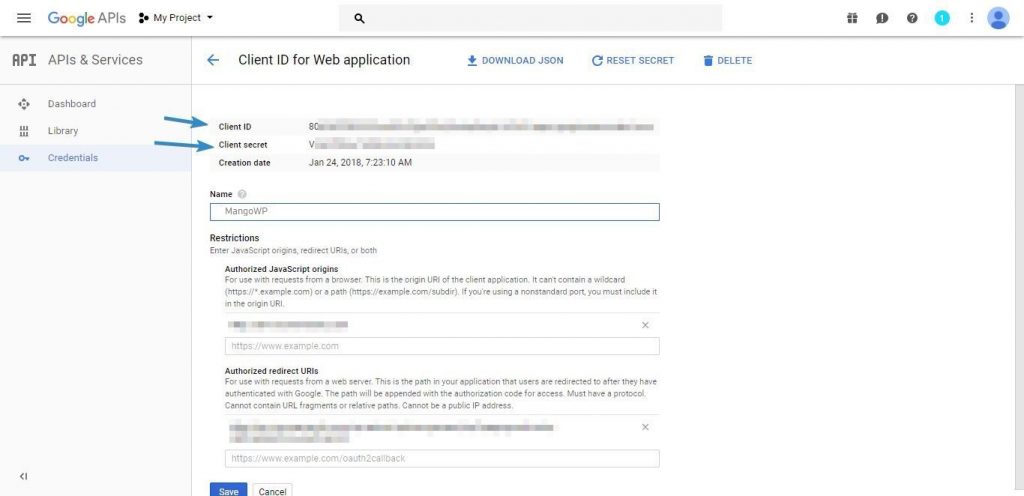
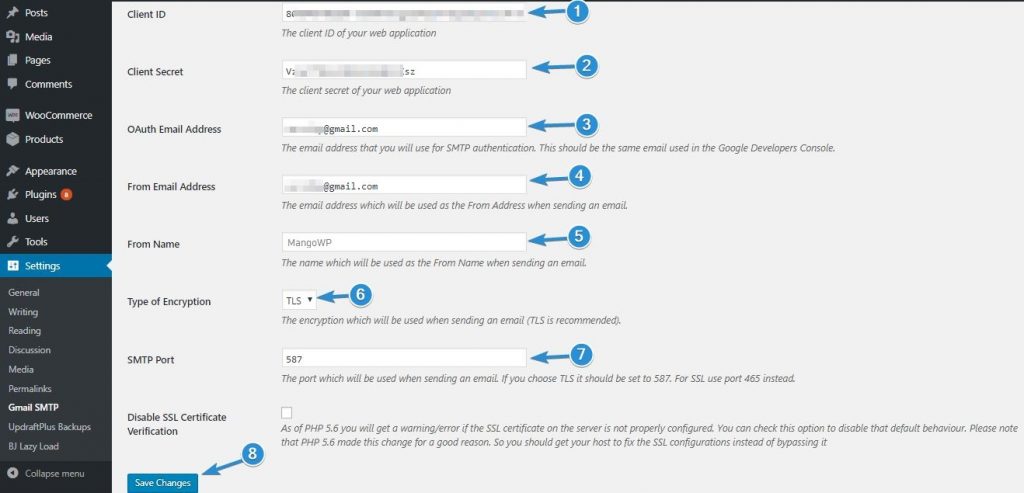
Copy the “Client ID” and “Client Secret” into their corresponding input boxes in the Gmail SMTP plugin settings page.
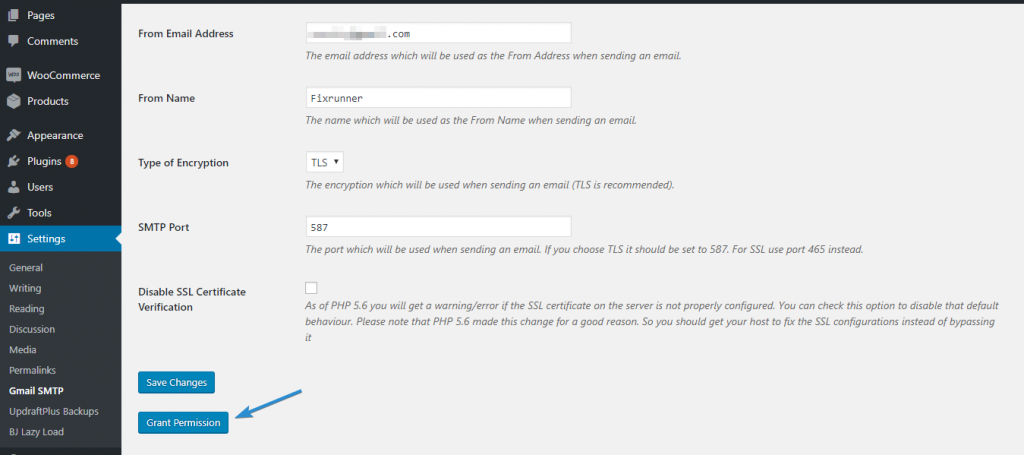
Next, enter the Gmail address you are using in the “OAuth Email Address” and “From Email Address” Input boxes.
Enter your “From Name”, which is the name that would show when a person receives your message.
In “Type of Encryption”, select TLS, and enter 587 in the “SMTP Port” input box.
Click Save Changes.
After saving your settings, a “Grant Permission” button would appear. Click on it.
Note: If you receive a message warning you that the app has not been verified, click Advanced and click the Go to (url) link.
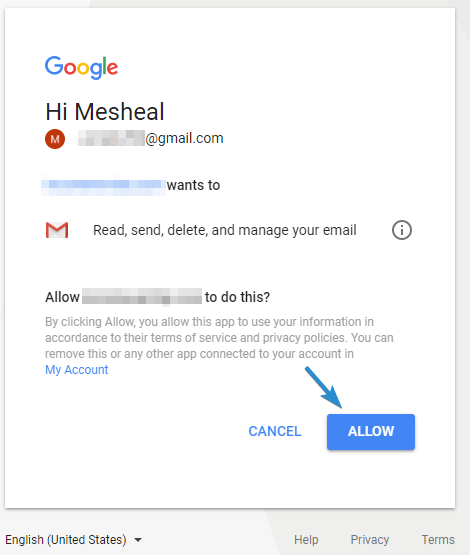
In the authorization page, click Allow.
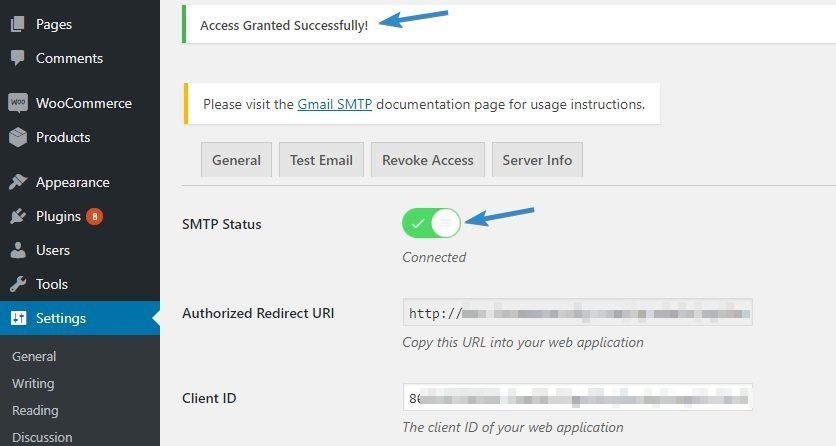
You would be taken back to the plugin setting page where you should see an “Access Granted Successfully” message at the top. Also, SMTP Status should now be “Connected”.
Done! You have configured WordPress to send emails using Gmail SMTP.
Test sending emails via SMTP Plugin
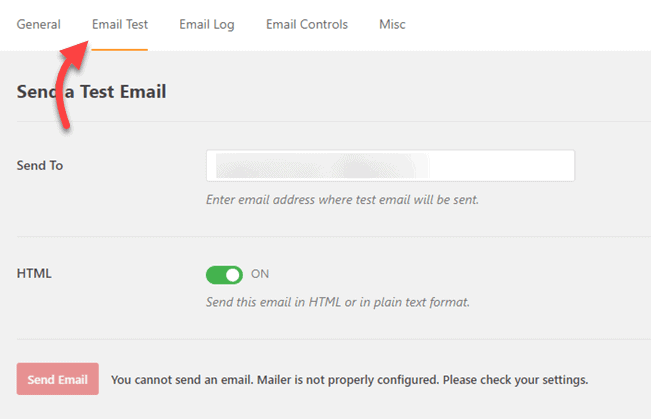
At this point, you want to send a test email to see if it works.
To do this, switch to the “Test Email” tab in your plugin. Next, fill out the “To”, “Subject”, and “Message” fields and click Send Email.
You should receive the test email in your inbox. Congratulations, your WordPress not sending emails issue is resolved!
Note: If you do not want to go through the stress of resolving this issue, our pro can do it for you in a few minutes. Contact us now