
WordPress 5.0 is out, and with it comes the new block-based editor, Gutenberg. Out of the box, it packs in a decent selection of blocks you can use across your pages and posts. However, since this is WordPress, there’s always room for more custom functionality.
In other words, it’s possible to build your own custom blocks. To do so, you’ll need to know at least a bit about coding, but the process itself is relatively straightforward. Plus, creating custom blocks for functionality you want to reuse can save you a lot of time down the road!
Note: When testing the Gutenberg editor or creating custom blocks, be sure to make changes in a staging or local environment, like Local by Flywheel. Click here to learn more about testing WordPress 5.0!
For this article, I’ll talk a bit more about the current state of the Block Editor. Then, I’ll go over how to create new blocks manually, and introduce you to a couple of plugins that can simplify the process. Let’s get to it!
Why you might need to create custom blocks for the new WordPress editor
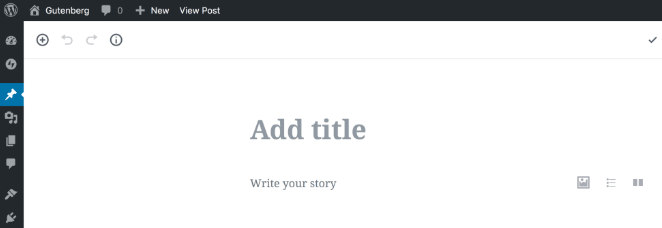
Of course, blocks are central to the functionality of the new editor. The idea is that you can add blocks anywhere you want and arrange them using rows and columns. Here’s what the editor looks like without any makeup:
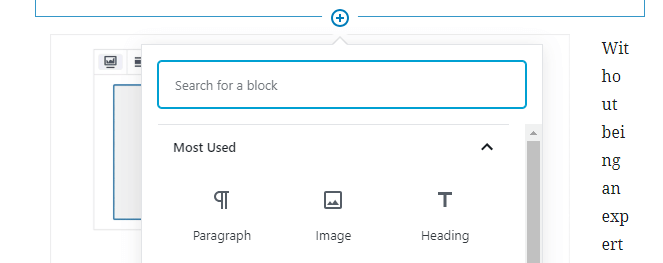
Here’s what you’ll see when you add a new block to one of your posts or pages:
While the functionality of each block is different, adding and editing them usually works much the same. The problem is, at the moment, the Block Editor is still relatively new – so the selection of blocks at your disposal isn’t too impressive right now.
Of course, the collection of blocks available to you will surely increase over time. WordPress’ core will add new elements, and plugin developers will fill in the blanks (as they usually do). In fact, there are already a handful of plugins that add new blocks to the Block Editor, including Atomic Blocks and Stackable.
However, if there’s a particular block you’d like to utilize but can’t find, there’s only one option at your disposal – creating a custom block you can use with the Gutenberg Editor.
How to manually create custom blocks (in 2 steps)
The Gutenberg Editor’s Block API is the tool you’re going to need. In this section, I’ll help you set up a new plugin to add a block to your editor. To do so, all you’ll need are two files (and some code).
Step 1: Create a plugin to call up your block files
The cleanest way to create a custom Gutenberg Editor block is by setting up a plugin that ‘enqueues’ or calls up your block scripts, and adds them to the editor.
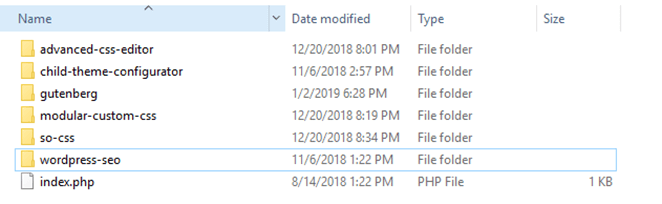
To get started, access your website via SFTP using a client such as FileZilla. Once you’re in, navigate to your WordPress root folder and into the wp-content/plugins directory. Inside, you’ll find folders for all the plugins on your website:
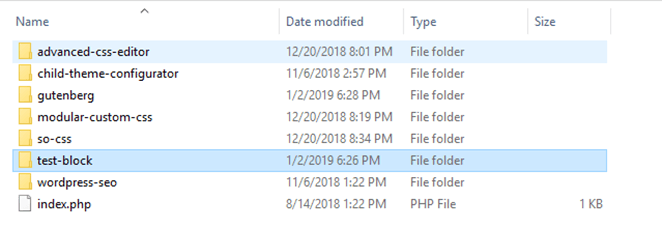
Now, right-click anywhere you want within the directory and create a new folder. I’ll call mine test-block, but yours can be relevant to you:
Open the folder, create a new plugin.php file (which can be given a more relevant name), then open the empty file, and add the following code:
<?php
/**
 * Plugin Name: Test Plugin
 * Author: John Doe
 * Version: 1.0.0
 */

function loadMyBlock() {
  wp_enqueue_script(
    'my-new-block',
    plugin_dir_url(__FILE__) . 'test-block.js',
    array('wp-blocks','wp-editor'),
    true
  );
}

add_action('enqueue_block_editor_assets', 'loadMyBlock');
This creates a function to enqueue your block script – test-block.js, in this case. Of course, this file doesn’t exist yet (but will soon).
In addition, the function also includes two script dependencies – wp-blocks and wp-editor. The former handles block registration among other functionality, whereas wp-editor includes several basic components you might need, such as Rich Text.
Step 2: Register your block and configure its attributes
With the PHP file ready, it’s time to set up the test-block.js JavaScript file. Go ahead and create this file within the same plugin directory as plugin.php:

When the file is ready, open it using a text editor, and prepare to code! This example is a very simple block to let you add a text box with a border to your pages:
/* This section of the code registers a new block, sets an icon and a category, and indicates what type of fields it'll include. */

wp.blocks.registerBlockType('brad/border-box', {
  title: 'Simple Box',
  icon: 'smiley',
  category: 'common',
  attributes: {
    content: {type: 'string'},
    color: {type: 'string'}
  },

/* This configures how the content and color fields will work, and sets up the necessary elements */

  edit: function(props) {
    function updateContent(event) {
      props.setAttributes({content: event.target.value})
    }
    function updateColor(value) {
      props.setAttributes({color: value.hex})
    }
    return React.createElement(
      "div",
      null,
      React.createElement(
        "h3",
        null,
        "Simple Box"
      ),
      React.createElement("input", { type: "text", value: props.attributes.content, onChange: updateContent }),
      React.createElement(wp.components.ColorPicker, { color: props.attributes.color, onChangeComplete: updateColor })
    );
  },
  save: function(props) {
    return wp.element.createElement(
      "h3",
      { style: { border: "3px solid " + props.attributes.color } },
      props.attributes.content
    );
  }
})
As you can see, this uses JavaScript with React to set everything up. I also added a couple of comments to the code, but to summarize, it registers and configures the basic block attributes. After the initial section, I configured the way the fields would work. This example included a text field and a color picker for the border.
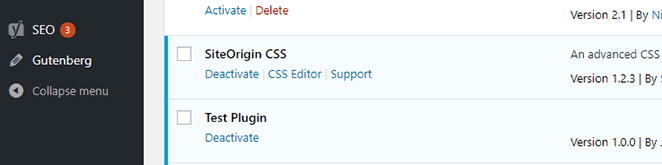
After saving the test-block.js file, activate the plugin from within WordPress:
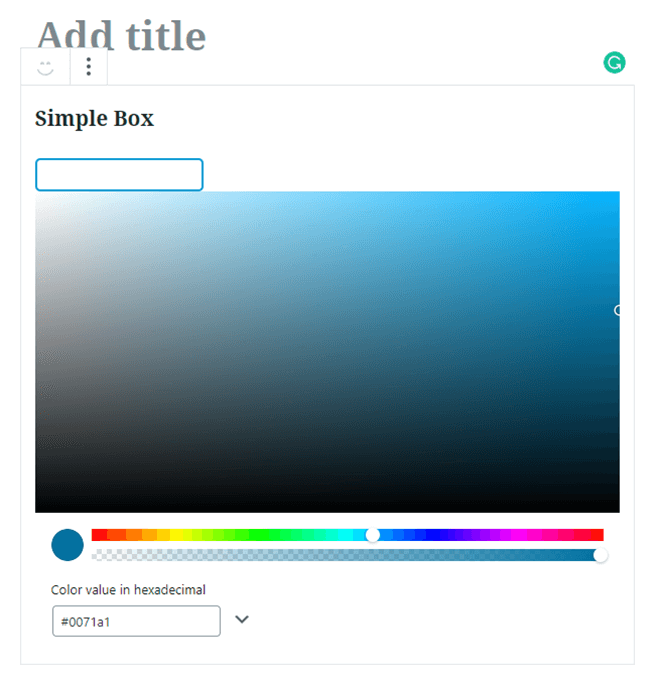
Next, open the Block Editor and add a new block in order to check how it displays:

Here’s what the block’s interface looks like:
This simple block comprises of the most important fundamentals to take forward into your own projects. Of course, you can make your blocks as simple or complex as you want, but broadly speaking, this is all you need to publish a block.
However, getting to the publishing stage will require you to develop your coding skills. For example, you’ll want to brush up on your JavaScript, since the Block Editor uses the language extensively. It’s a bit of a change from working mostly with PHP, but you can do some equally great stuff, and maybe more!
2 plugins you can use to create custom blocks
Learning how to manually create custom blocks is great if you want to understand how the Block API works. However, there are WordPress plugins you can use to help you create blocks more quickly. Here are two top contenders!
#3 Block Lab

Simply put, Block Lab enables you to create custom blocks directly from your WordPress dashboard. The plugin lets you set up as many blocks as you like, and you can set a name, category, icon, description, and indicate what fields you want to include for each of them.
However, be aware that you still need to do some light coding to set up each block’s template. Even so, you do get to skip most of the legwork of registering each block and enqueueing its script.
#2 Lazy Blocks
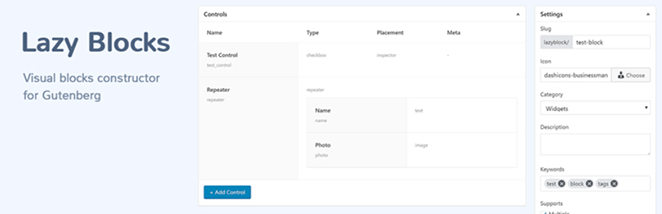
If you’d rather not deal with any code at all, Lazy Blocks might be up your alley. This plugin enables you to create custom blocks using a list of pre-built elements, including text, password, and image fields, as well as color and date pickers, among others.
The selection of useable elements is broad enough that you can put together some cool blocks, but if you want to create something highly specific, you’ll likely be better served with a more advanced solution.
Conclusion
If you’ve been using WordPress for a while, chances are you’ve tried to expand the now Classic Editor’s functionality with plugins. Creating custom Block Editor elements is a similar situation, only there are new tools and languages to leverage. In any case, extending what the editor can do has a lot of potentials to make your work easier, so it’s worth exploring your options.
Do you have any questions about how to set up custom Block Editor blocks? Ask away in the comments section below!
@getflywheel.com