When you are running a website or blog, one of the important things you need to do is build an email list. Though building an email list is an old method, it is still very much relevant, as it lets you connect to your site visitors directly and increases website traffic. There are many free services that let you build an email list efficiently. MailChimp is one such service that is free and has all the essential features like RSS campaigns, welcome emails, click tracking, A/B split testing, etc. To get you started with building your first email list, here’s how to connect MailChimp to WordPress.
There are several methods to link MailChimp to WordPress. I will show you two different methods where the first one is using a powerful plugin and the second one is to manually add the opt-in code from MailChimp.
Note: before proceeding any further, I assume you’ve already signed up for MailChimp. If not, you can signup for a free account on the official website.
Once you have signed up for MailChimp, create a new list by clickinng on the “Create List” button on the dashboard. All the subscribers who sign up for your newsletter will be added to this list. Depending on your needs, you can create multiple lists for different purposes.
Using Easy Forms for MailChimp Plugin
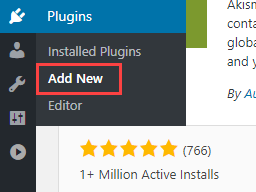
Using Easy Forms for MailChimp is the easiest way and gives you the flexibility to add the signup form wherever you want. To start, log into your WordPress dashboard and navigate to “Plugins -> Add New.”
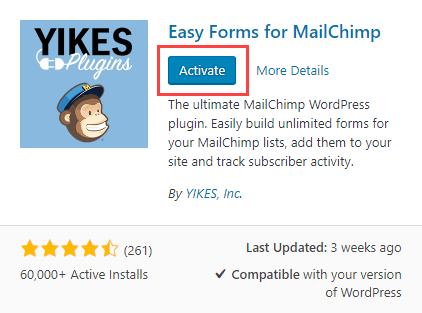
Here, search for the plugin and click on the “Install” button. After installing, click on the “Activate” button to activate the installed plugin.
After activating the plugin, open the plugin settings page by navigating to “Easy Forms -> Settings.”

Under the “General Settings” category, click on the link “Get your API key here.”
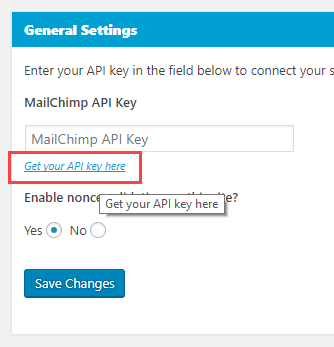
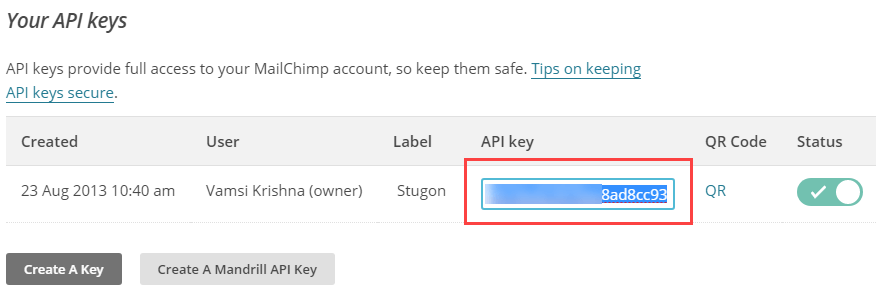
The above action will take you to the MailChimp API settings page. Just scroll down, find “Your API Keys” section and copy the API key. If there is no active API key, then click on the “Create a Key” button, and a fresh API key will be created for you.
In the WordPress Settings page, paste the copied API key and click on the “Save Changes” button.

You’ve successfully connected MailChimp to your WordPress site. Now you need to create a signup form for your site visitors. To do that, select the option “Opt-in Forms” under the “Easy Forms” menu.
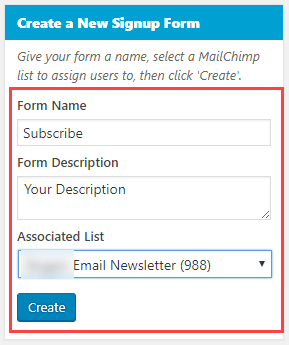
This page will list all your current signup forms. Since you don’t have any, we need to create one. Enter the form name and description, select the list from the drop-down menu and click on the “Create” button.
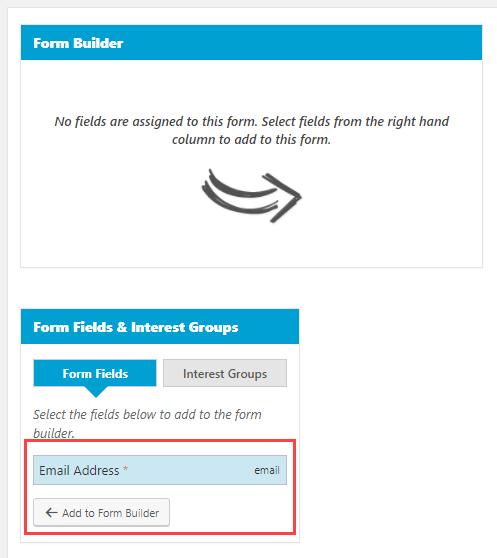
The above action will create a blank form. Under the “Form Fields” and “Interest Groups” section, select the email field and click on the “Add to Form Builder” button.
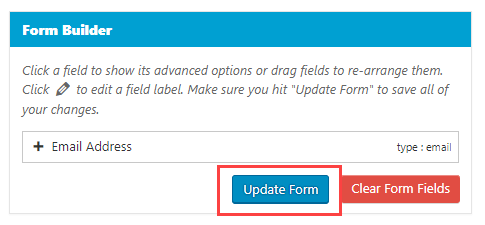
The above action will add that field to the form. Now, click on the “Update Form” button to save the form.
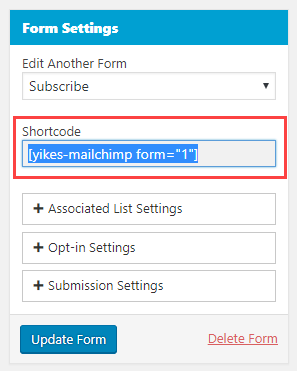
That’s it, you’ve created the signup form. Under the Form Settings section, you can copy the shortcode. This shortcode can be used to insert the form into your pages and posts.
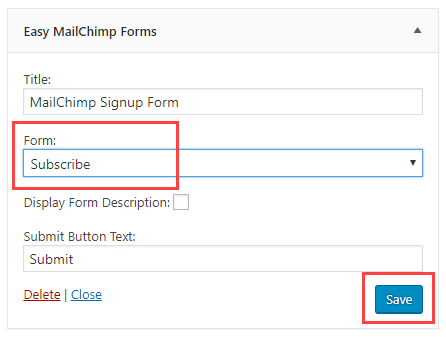
If you want to add the signup form to the Sidebar, you can do that using widgets. Just navigate to “Appearance -> Widgets,” drag and drop the Easy Forms widget, select the form and click on the “Save” button.
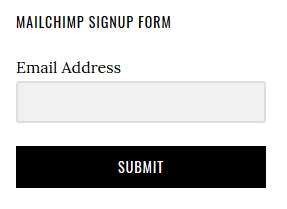
As soon as you save the settings, you should see the signup form in the front end.
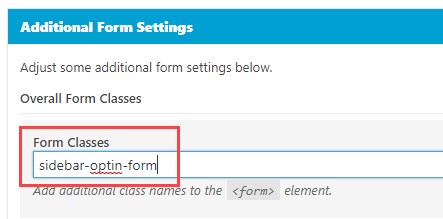
If you want to customize the form with your own CSS, then add a custom CSS class on the Form Settings page under the “Additional Form Settings” section.
Manually Add Opt-in Code from MailChimp
If you just want to add a signup form without using an extra plugin, MailChimp provides you the embedded form code which you can add manually. To get the embedded code, sign into the MailChimp account and click on the “Lists” link appearing on the upper navigation bar.
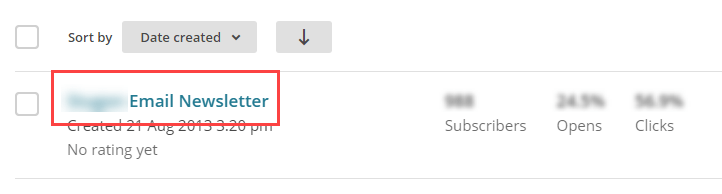
Now, click on the email list you created earlier.
In the email list settings page, click on the option “Signup Forms.”

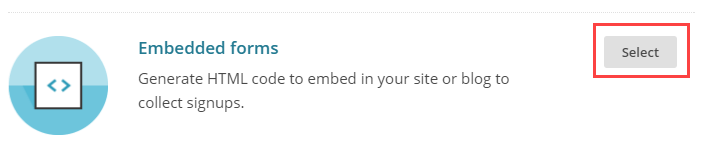
On this page click on the “Select” button next to the Embedded Forms option.
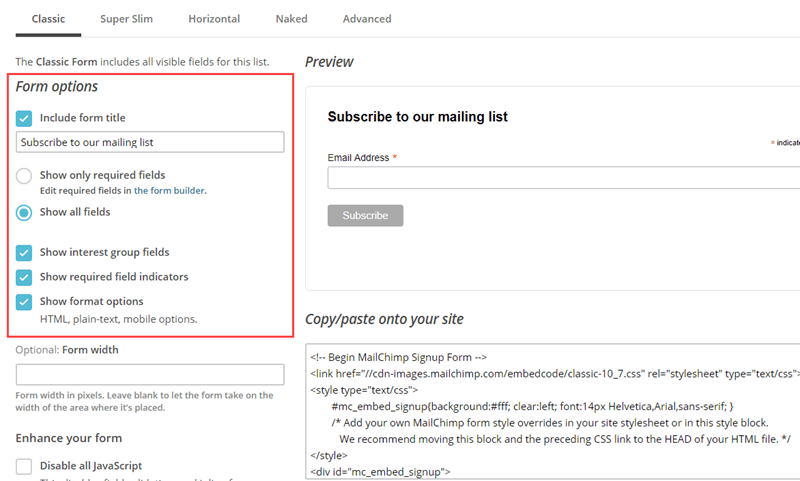
By default, the form is optimally configured with necessary options like form title, required fields, format options, validation, etc. Simply copy the displayed code.
Now, go to your WordPress dashboard and add either the copied code to a text widget or to a page or post.
Do comment below sharing your thoughts and experiences about using MailChimp
@maketecheasier.com