
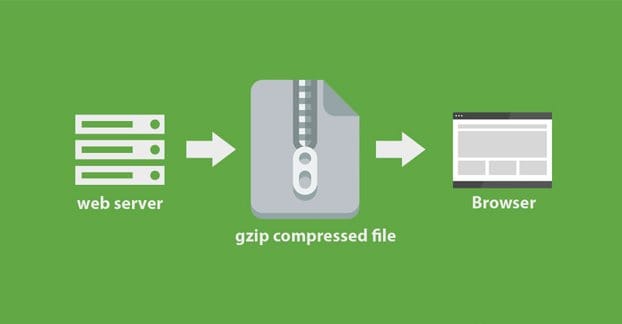
Using Gzip allows HTML, JS and CSS files to be compressed, reducing the size of transferred files by up to 70%. This results in shorter loading times for your website.
Especially for visitors accessing your website with relatively slow connections (using their smartphones for example), the compression can lead to noticeably better client performance.
In this post, we’ll show you how to setup the Gzip on 1&1 Hosting.
Step 1: Enable gzip for PHP
To enable this on a basic 1&1 account, create a file in your root directory called php.ini and put the following text in it:
zlib.output_compression = 1
 zlib.output_compression_level = 9
Step2: Create a PHP Compressor
Create a new file in your root directory called css-js-compressor.php and put in the following code:
<?PHP
 // part 1
 $key = "REDIRECT_URL";
 if (isset($_SERVER["SCRIPT_URL"])) {
 $key = "SCRIPT_URL";
 }
// part 2
 if (preg_match(“/\.css$/i”, $_SERVER[$key])) {
 $ContentType = “Content-type: text/css; charset=utf-8”;
 } else if (preg_match(“/\.js$/i”, $_SERVER[$key])) {
 $ContentType = “Content-type: text/javascript; charset=utf-8”;
 } else {
 exit(“no match”);
 }
// part 3
 header($ContentType);
 header(“Cache-control: max-age=604800, public”);
 echo (“/* compressor */\n”);
 echo file_get_contents($_SERVER[“DOCUMENT_ROOT”].$_SERVER[$key]); ?>
Step 3: Redirect requests for CSS and JavaScript to PHP
If you don’t already have one, make a text file in your root directory called .htaccess and paste in the following code:
 # BEGIN GZIP
 RewriteEngine On
 RewriteBase /
 RewriteCond %{REQUEST_URI} ^/(wp-content|wp-includes)
 RewriteCond %{REQUEST_FILENAME} -f
 RewriteRule .(css|js)$ /css-js-compressor.php [L]
 # END GZIP
Testing GZIP Compression
- The Website-Checker helps you to optimize your website and also gives you information about whether GZIP compression is actually active.
- Google PageSpeed Insights is a tool provided by Google that checks the loading speed of websites and gives tips for optimization.
- Alternatively, you can use your browser’s developer tools. Open your website in the browser, activate the developer tools, and select Network (Analysis). In the network area, select the Headers tab and search for the line Content-Encoding: gzip in the reply headers.
If you encounter any difficulties or obstacles during the implementation process, please do not hesitate to contact us. We will support free corrections for you.