Wondering how to track links and button clicks on your WordPress website?
By default, Google Analytics doesn’t allow you to track links and buttons, so you’ll have to tweak your links with a bunch of event tracking code, which is tedious.
With WordPress, the easiest way to track links and buttons with Google Analytics is to use a plugin like MonsterInsights, so you don’t have to touch any code.
In this article, we’ll show you how to track your link and button clicks in Google Analytics with ease, using MonsterInsights.
Tracking Link and Button Clicks in WordPress
Links and buttons are major points of interactions on your site. By tracking links and buttons, you get to know how well your users are converting on your site.
If you’re a publisher, tracking links and buttons help you identify what type of content your audience is more interested in.
For example, if a certain external link has been receiving a lot of clicks, this means you’re sending out a lot of traffic to an external site. You can retain that traffic by publishing similar content on your site and linking out to that content instead of an external site.
Or if you’re an affiliate marketer, you can make a deal with the site that you’re sending traffic to, which possibly help you make some money.
If you’re selling a product, tracking buttons will help you track conversions on your site without setting up complex goals or events tracking in Analytics.
MonsterInsights: An Overview
MonsterInsights is a powerful analytics tool which gives you an in-depth report of the user activity on your website. With this Google Analytics plugin, you can discover –
- the exact number of visitors your site receives every day
- the sites that referred the visitors
- what the visitors are clicking on the website
By offering these reports, the plugin helps you work on those areas of your website that needs improvement. The best thing about this plugin is that it enables you to connect your WordPress site with Google Analytics.
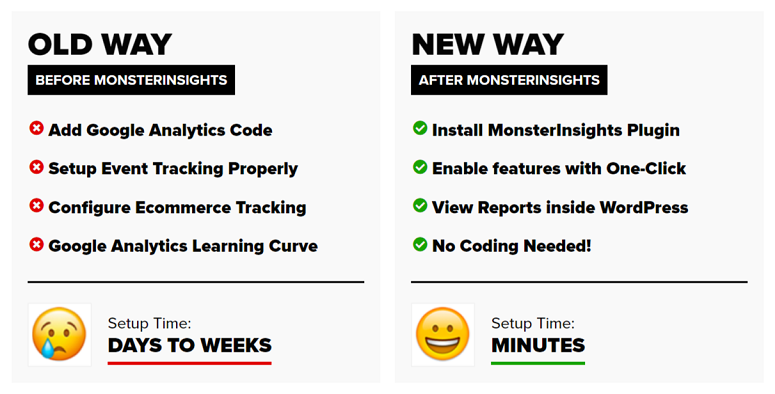
Let’s find out how to use MonsterInsights to track your link and button clicks.
Step 1: Installing MonsterInsights on WordPress
The first step is to install and activate MonsterInsights on your WordPress website.
Once the plugin is installed, click on the Activate button for it to start working. You will now be taken to the setup wizard page, where you can configure your settings.
Step 2: Connect Your Site to Google Analytics
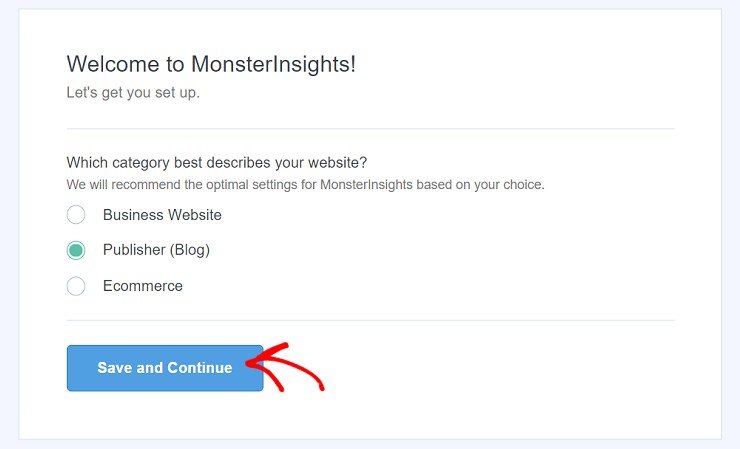
After installing and activating the plugin, you will see a page that asks you to choose your website category. Select your option and then proceed to the next step by clicking on the Save and Continue button.
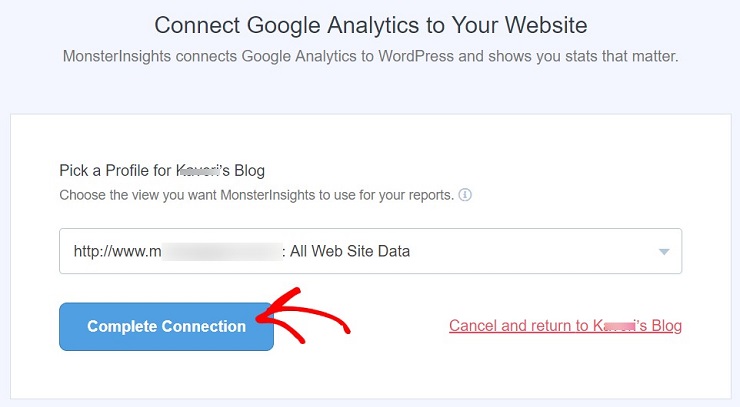
In the next step, MonsterInsights will ask you to connect your WordPress site to your Google Analytics account. So pick a category by clicking on the drop-down arrow. Finally, click on the Complete connection button to complete the process.
Once your setup is completed, you can see a detailed report of your website on your WordPress dashboard. You can check these insights by going to Insights » Reports on your WordPress dashboard.
Step 3: Tracking Links and Button Clicks With MonsterInsights
It’s now time to configure your plugin settings. You can do that under Insights » Settings This is to ensure that the links & button tracking work well without any problem. If you have affiliate links on your website, you can set the path for those links as well.
This will help you track your link clicks every time a user clicks on it. You can also mention the users who can see the tracking reports. Under the recommended settings keep the events tracking and enhanced link attribution options enabled.
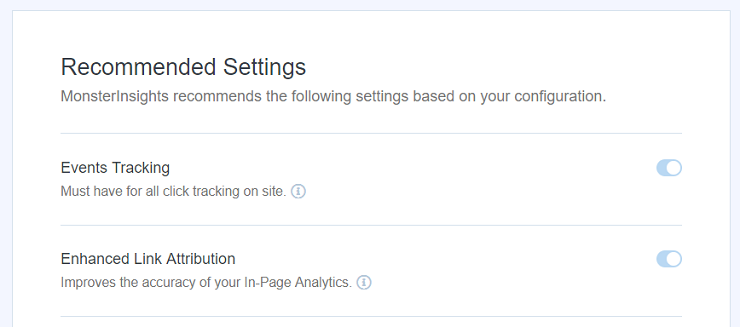
By enabling the enhanced link attribution option, you can determine how users interact with your website in terms of buttons and links they click on your page. It differentiates between identical links on the same page. If you have 2 or more links to the same destination from one page, enhanced link attribution will show you which link is getting the most clicks.
As you scroll down the page, you will have more options on your screen. You can use these options to track your affiliate links.
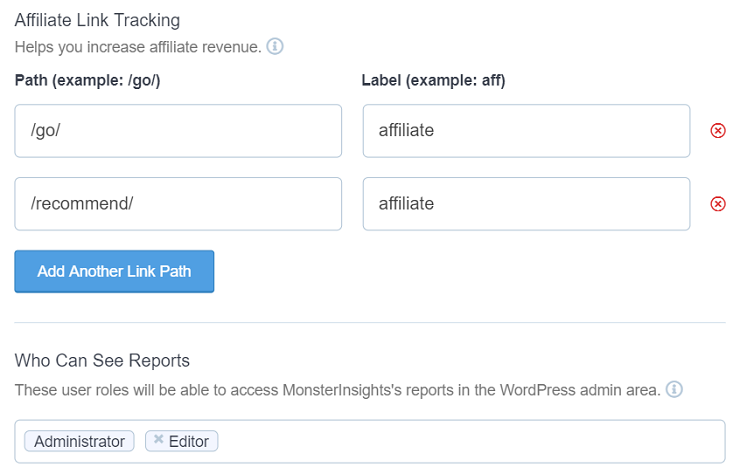
The reports for the affiliate links can be viewed under Insights » Reports » Publisher. Here’s a detailed guide on tracking affiliate links with Google Analytics.
After you save your settings, MonsterInsights is ready to be used. Click on the Finish Setup and Exit Wizard button to complete the process.
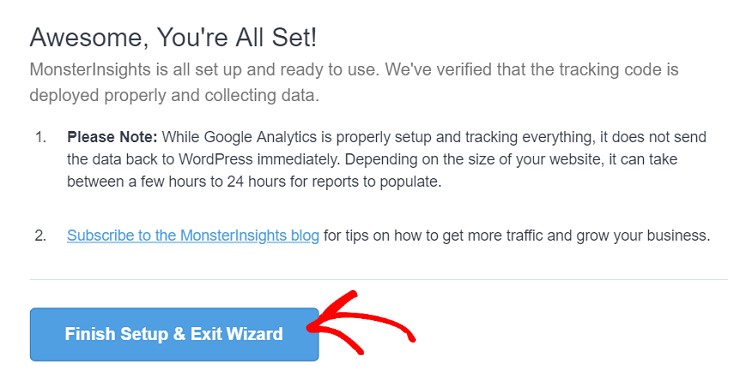
It will start tracking and collecting data based on user activities on the site. Once that begins, you can either view the results in your Analytics events or directly on your WordPress dashboard.
MonsterInsights even lets you track form submissions with Google Analytics. All you have to do is to install and activate their Forms addon.
Step 4: Enable More Link Tracking Features
After completing the setup wizard, you can take some advanced steps to enable more tracking features. If you want detailed tracking reports like user location, interest groups, etc. then these settings can be helpful.
To enable more tracking features, go to your WordPress dashboard, click on Insights and click on Settings. Click on the engagement tab to view more tracking features.
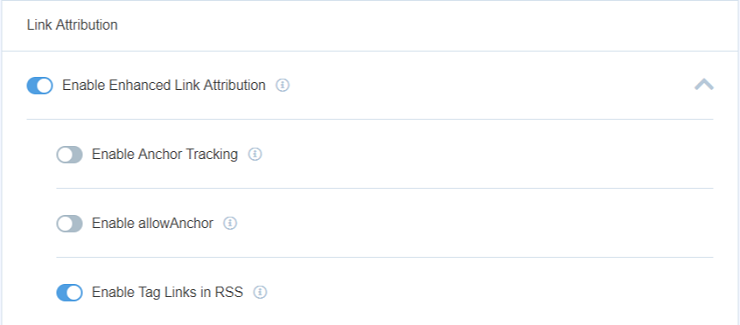
Anchor tracking is useful for a website that uses a single page theme and relies on anchor tags. You’ll also see an option to enable tag links in RSS. Enabling this feature is optional.
Step 5: Viewing Click Reports with MonsterInsights
Google Analytics gives you an abundance of data to help you make informed decisions. With MonsterInsights, you get all essential data within your WordPress dashboard, so you don’t always have to dig deeper always into Analytics.
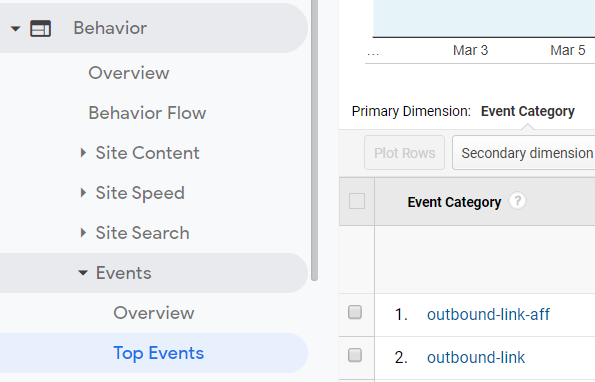
To check your button and link clicks via Google Analytics, go to Behavior » Events » Top Events.
You can now see the report on outbound and affiliate link clicks in Google Analytics.
We hope this article helped you learn how to track outbound links in Google Analytics.